First, you can verify whether HTTP/3 is working on your website by using these sites: Http3check or Http3checker. You can also do a simple:
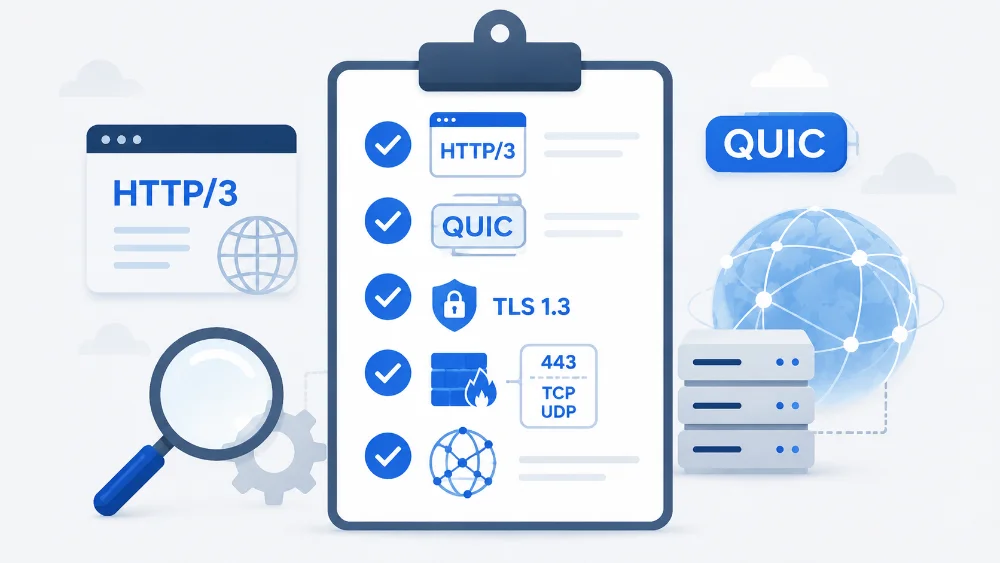
curl -I --http3 https://your-website.comYou need five things to make HTTP/3 work. While my examples primarily focus on Nginx, they can aid you in troubleshooting any web server.
1) A web server that supports HTTP/3 (Nginx since version 1.25.0).
Check the Nginx version and double-check to make sure it was compiled with the HTTP/3 module.
#Verify the version is >= 1.25
nginx -v

#Next check if the http_v3_module was compiled
nginx -V 2>&1 | grep --color http_v3_module
2) Make sure your web server is configured for HTTP/3.
For Nginx, you must enable HTTP/3 in the Vhost file
server {
  listen 80;
  listen [::]:80;
  listen 443 quic;
  listen 443 ssl;
  listen [::]:443 quic;
  listen [::]:443 ssl;
  http2 on;
  http3 off;
  ssl_protocols TLSv1.3;
  {{ssl_certificate_key}}
  {{ssl_certificate}}
...change http3 to on; I understand that https/3 defaults to on when compiled with the http/3 module, but I always add it anyway. It lets you remember later on that this website is intended to be upgraded to http3.
You will also need an Http header to advertise your server’s support for http/3
add_header Alt-Svc 'h3=":443"; ma=2592000';This will go in your Vhost file, as above. For Nginx, it will either go in the Server block or the Location block if you are running a reverse proxy. You need to verify that this header is there, or you have to add it yourself.
A little trick I have learned if you are having trouble getting Http/3 to be stable is to add the directive reuseport to the quic listeners like so:
listen 443 quic reuseport;
listen [::]:443 quic reuseport;Of course “listen [::]” is the listener for 1Pv6 connections. If you are not using IPv6, you should just leave them in there for future upgrades — or delete them now for easier debugging. The choice is yours.
3) You will need a domain name and a valid, not self-signed, SSL certificate
4) You will need to use TLS 1.3. It’s sometimes beneficial to force TLS 1.3 as in the first example, adding ssl_protocols TLSv1.3. This is very appropriate, especially if only your own clients will be connecting to the instance, as opposed to a general website.
4) In your firewall, you need to open both TCP and UDP protocols for port 443
HTTP/3 uses UDP, unlike the previous versions of HTTP, which only used TCP. You will need to open TCP and UDP.
5) A modern web browser that supports Http/3 which is nearly all of them.
Also, TLS 1.3 was finalized in 2018. I do not even try to support older hardware. Requiring TLS 1.3 enhances security at the expense of a few older clients. If you do not explicitly require TLS 1.3, the client can then downgrade to HTTP/2 or HTTP/0.9, which may allow hackers to take advantage of the vulnerabilities in these older protocols. A good rule is to allow only TLSv1.2 and TLSv1.3 because TLSv1.1 is not only outmoded but also, according to Google.com, “… vulnerable to attacks, making it unsuitable for protecting sensitive data.”
ssl_protocols TLSv1.2 TLSv1.3;If you are interested in this subject, you must check out “moz://a SSL Configuration Generator” that will generate all sorts of safer and more robust web server configs according to your preferences.
I hope my checklist was helpful!